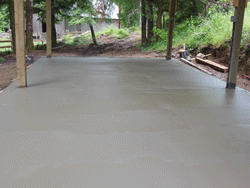
 Over the last couple of years we’ve been cleaning up and building a campsite for family to use when they come to visit. Last year we completed the “structure” (we still haven’t decided to what to call it), which is a 34′ x 18′ roof, giving us a large covered area. As of now it has a beautiful concrete slab underneath… no mud!!
Given the location, trees, size and general accessibility, it was quite a project! Here are pictures and the story …
In the days before, the frame was built. With typical backwoods ingenuity, the frame was layered with recycled fencing (pulled from the poison oak in the used-to-be garden). The wire serves as additional structure for the concrete so it’s less likely to crack or shift.
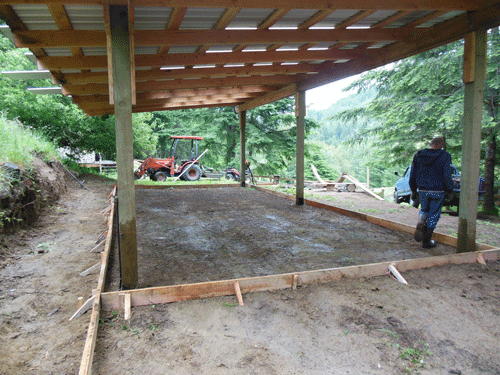
The truck arrived in the morning, filled with 10 cubic yards of cement. Because of the access, he had to back down the narrow drive to the campsite.
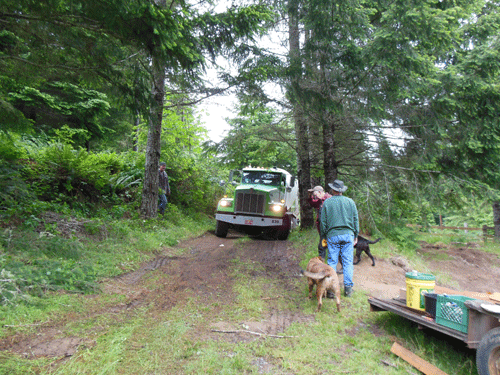
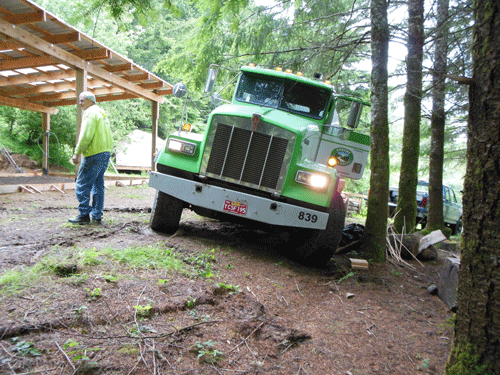
The driver tried to position the truck so he could reach the whole of the frame. Unfortunately, the ground was a little slippery …
Both the front and back tires slid to the side (down a little slope) and – voila – the huge cement truck was not only stuck, it was tipped at a scary angle. Doesn’t look so bad in the picture, but everyone was definitely avoiding the down side.
No problem! Our trusty little Kabota to the rescue. With two experienced truckers (the cement truck driver and our Frank), the cement truck was pulled back onto safer ground.
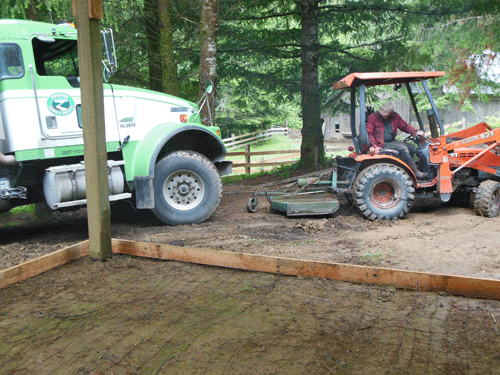
Once the truck was back into a safe position, the water was added, the big tank started to turn in earnest and the cement started to flow.
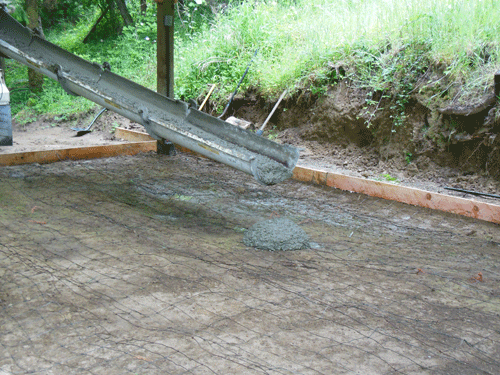
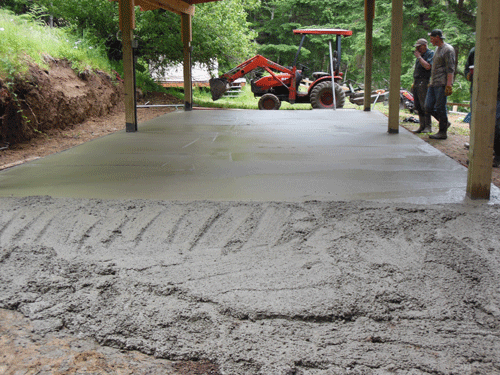
Since the cement channel wouldn’t reach to the far end, our trusty Kabota, with Frank, our Kabota artist at the helm, was used to push the cement to the far side.
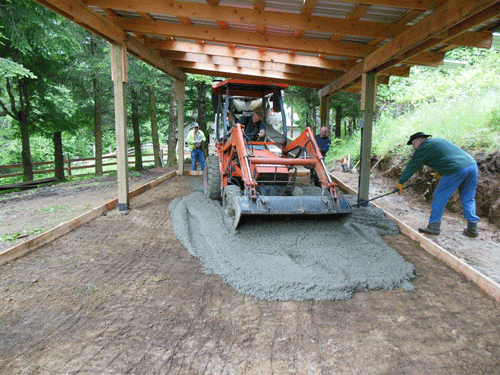
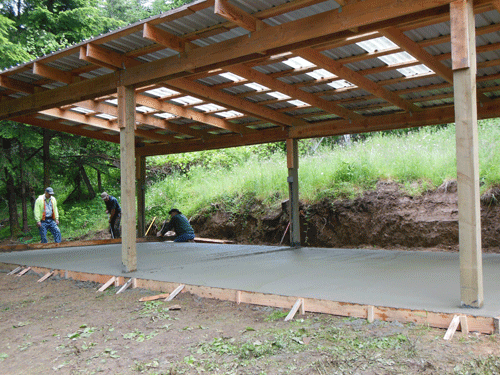
Once the far end of the frame was filled with cement, everyone (Tony, the truck driver, Jere, Justin, Tom and Frank) pitched in to get it into the corners and make sure it was filled up to the top.
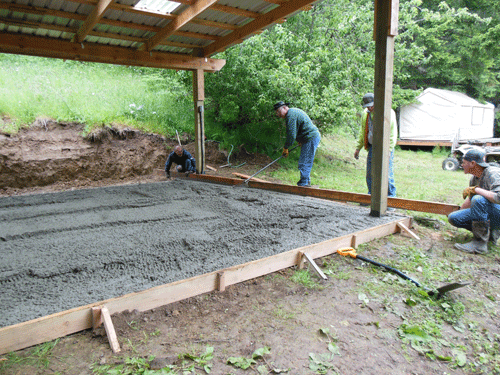
Then came the process of the initial smoothing of the top. A long board (actually, two boards nailed together to get the full width), was moved back and forth, inching it’s way forward and smoothing as it went Two guys manned the board, one on each end, while the others either moved excess cement out of the way or filled in the low spots.
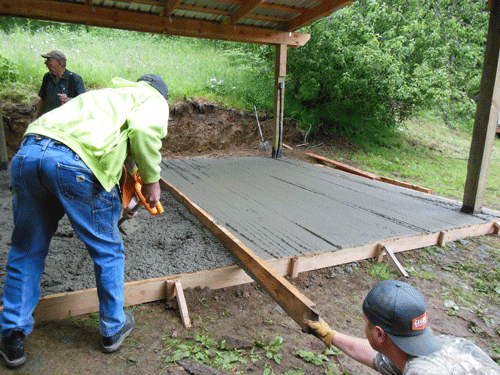
Once the back half was initially smoothed, Jere started floating it (making it really, really smooth), the Kabota exited the frame, and the whole process was repeated for the front end (except that the Kabota wasn’t needed to move around the cement – that was done by swinging the pour channel). It didn’t take nearly as long for the second half to be completed.
After the frame was filled, we still had extra cement, so a smaller frame was built at the end and the cement was poured to make a ramp. (The picture below is after the cement was dumped and just initially spread.)
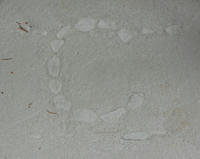
As a finishing touch while the cement was still wet, I added stones from the creek to form our brand, Flying-C-Bar. At some point, we’ll wire brush off the cement from the stones so they show up better.
Five days later, everything had been smoothed out and cleaned up. The cement is hard and it will be ready for Ranch Week this coming weekend.

During Ranch Week we plan a big BBQ dinner for family at the site. The pad will be perfect!




Leave a Reply